Build a blog website with Next.js 13 and Markdown

Getting Started
To build the project, we will be using the newest Next.js version available as of May 19, 2023 - 13.4 and utilize the new App Router that is now production-ready. To style the blog, we will use the Tailwind CSS library.
To get the most out of this tutorial, it is recommended that you have a basic understanding of HTML, CSS, and React.
System Requirements
- Node.js 16.8 or later.
- Computer with macOS, Windows, or Linux installed.
- Integrated development environment (IDE) of your choice - I highly recommend Visual Studio Code (free) or WebStorm (paid/30-day trial). Throughout this tutorial I will be using Visual Studio Code.
Create a new Next.js project
To create a new project, please follow the steps below:
- Create a new folder in your preferred location. I'll name my folder "markdown."
- Launch your IDE and open the previously created folder. If you're using Visual Studio Code, in the top menu go to File -> Open Folder, find your folder, and click "Open."
- Open the terminal. In the top menu of Visual Studio Code, go to Terminal -> New Terminal. You can also create a new terminal using the following shortcut in VSCode:
Ctrl Shift `on Windows or⌃ ⇧ `on Mac. - Run the following command to create a new Next.js project (if you would like to have your project inside of another folder in the current directory, don't add the
.at the end of the command. Next.js will ask you how would you like to name the project and create a new folder inside the current directory for you):
Terminal
npx create-next-app@latest .During the installation, you may encounter prompts regarding TypeScript, ESLint, Tailwind CSS, /src directory, App Router, and default import alias. I recommend the following configuration:
Terminal
✔ Need to install the following packages: create-next-app@13.4.3. Ok to proceed? Y
✔ Would you like to use TypeScript with this project? Yes
✔ Would you like to use ESLint with this project? Yes
✔ Would you like to use Tailwind CSS with this project? Yes
✔ Would you like to use `src/` directory with this project? No
✔ Use App Router? Yes
✔ Would you like to customize the default import alias? Yes
✔ What import alias would you like configured? @
To run the website, type the following command in your terminal:
Terminal
npm run devBy default, the website should run on port 3000. However, if the specified port is already in use, the website will attempt to run on another available port instead. You will see a message in your terminal indicating the new port assignment, similar to the following:
Terminal
- ready started server on 0.0.0.0:3000, url: http://localhost:3000To visit the website, open your browser (I highly recommend using Google Chrome due to its excellent Developer Tools) and type the above URL in the address bar.
If everything went smoothly, you should see the following landing page:

Configuring Contentlayer
Contentlayer will help us validate and transform our content written in MDX into type-safe JSON data that can be easily imported into our application. We are utilizing Contentlayer to leverage the benefits of working with MDX files, which combine Markdown with embedded JSX.
To install Contentlayer and the Next.js plugin, please run the following command in your terminal:
Terminal
npm install contentlayer next-contentlayerNext.js Configuration
To integrate Contentlayer into the next dev and next build processes, we need to wrap the Next.js configuration using the withContentlayer method in next.config file.
- To use the
importsyntax instead ofrequire, change the extension of your next.config from.jsto.mjs - Update the code as shown below:
// next.config.mjs
import { withContentlayer } from "next-contentlayer"

/** @type {import('next').NextConfig} */
const nextConfig = {}

export default withContentlayer(nextConfig)
TypeScript Configuration
Add the following, highlighted lines to your tsconfig.json file:
{
  "compilerOptions": {
    "target": "es5",
    "lib": ["dom", "dom.iterable", "esnext"],
    "allowJs": true,
    "skipLibCheck": true,
    "strict": true,
    "forceConsistentCasingInFileNames": true,
    "noEmit": true,
    "esModuleInterop": true,
    "module": "esnext",
    "moduleResolution": "node",
    "resolveJsonModule": true,
    "isolatedModules": true,
    "jsx": "preserve",
    "incremental": true,
    "baseUrl": ".",
    "plugins": [
      {
        "name": "next"
      }
    ],
    "paths": {
      "@/*": ["./*"],
      "contentlayer/generated": ["./.contentlayer/generated"]
    }
  },
  "include": [
    "next-env.d.ts",
    "**/*.ts",
    "**/*.tsx",
    ".next/types/**/*.ts",
    ".contentlayer/generated"
  ],
  "exclude": ["node_modules"]
}
It allows Next.js and your IDE to know where to look for generated files, and makes it easier to import them into the code.
Gitignore Configuration
To ensure that each build of the app will have the latest generated data, we have to add the .contentlayer directory into .gitignore file:
// .gitignore
# .gitignore
.contentlayer
Define content schema
In this project, we will build a very simple blog. To accomplish that, we need to define the schema of our posts. Let's create a contentlayer.config.ts file in the root directory of our project and add the following content, which will define our Post:
// contentlayer.config.ts
import {
  ComputedFields,
  LocalDocument,
  defineDocumentType,
  makeSource,
} from "contentlayer/source-files"

const computedFields: ComputedFields<string> | undefined = {
  slug: {
    type: "string",
    resolve: (doc: LocalDocument) => `/${doc._raw.flattenedPath}`,
  },
  slugAsParams: {
    type: "string",
    resolve: (doc: LocalDocument) =>
      doc._raw.flattenedPath.split("/").slice(1).join("/"),
  },
}

export const Post = defineDocumentType(() => ({
  name: "Post",
  filePathPattern: `blog/**/*.mdx`,
  contentType: "mdx",
  fields: {
    title: {
      type: "string",
      required: true,
    },
    description: {
      type: "string",
    },
    date: {
      type: "date",
      required: true,
    },
    published: {
      type: "boolean",
      default: true,
    },
  },
  computedFields,
}))

export default makeSource({
  contentDirPath: "./content",
  documentTypes: [Post],
})
Let's break down the above code:
computedFields are creating slug and slugAsParams properties out of names (meta properties) of our posts that we will create in a second. We will later use these slugs to identify the given post and to create some dynamic routes to view the details of each post.
defineDocumentType function allow us to create a Post schema. We define its:
name,filePathPattern, which is relative to thecontentDirPathin the export default at the end of our schema (we expect our posts to be located in the "./content/blog/" directory),contentType- we will be using enhanced Markdown (MDX), that will allow us to create custom JSX components and embed them inside, andfields, which define ourPost. We include title, description, date, published, and image properties.
We make all the fields required besides the description - we will need to include these fields in each post.
Any data objects generated from these files will contain the fields specified above, along with a body field that contains the raw and HTML content of the file.
Let's create our first post
As we have defined in the contentlayer.config.js file (contentDirPath & filePathPattern), let's create the following folders for our blog posts:
content/
├── blog/
    ├── my-first-post.mdx
In the my-first-post.mdx file, add the following content, or replace the text according to your preferences, for your own lorem ipsum text, you can use a generator:
---
title: My First Post
description: Markdown is awesome, check it out!
date: 2023-05-22
---

Lorem ipsum dolor sit amet, consectetur adipiscing elit. Donec mattis gravida mi, ac pellentesque arcu dapibus vitae. Maecenas finibus purus eu massa condimentum pellentesque. Maecenas ante augue, sollicitudin vel bibendum quis, faucibus in massa. Suspendisse vitae risus facilisis, lacinia lacus vel, commodo risus. Quisque commodo finibus dolor, in mollis augue elementum non. Aliquam commodo faucibus blandit. Suspendisse eleifend facilisis sem nec imperdiet. Praesent nec neque vel elit ultrices tristique. In felis nulla, cursus in sodales id, efficitur eget dui. Cras malesuada viverra lorem, vitae vulputate tortor malesuada id. Donec vel nisi tincidunt, aliquet neque interdum, rhoncus velit. Praesent eget ipsum eu arcu congue ullamcorper eget consequat arcu.

Donec lacinia lorem ut volutpat lacinia. Cras pretium velit in turpis molestie egestas. Class aptent taciti sociosqu ad litora torquent per conubia nostra, per inceptos himenaeos. Aliquam orci ligula, dictum a quam a, tempor suscipit lectus. Donec ac ante fermentum turpis molestie ultricies. Quisque quis cursus metus, ut pretium nulla. Vivamus vestibulum commodo maximus. Morbi rutrum mauris sapien, eget posuere lacus faucibus sed. Integer risus orci, vehicula a velit sed, volutpat accumsan turpis.

Pellentesque fermentum neque vitae enim tempus scelerisque. Vivamus risus lectus, interdum id dui eu, ultricies pellentesque libero. Morbi sapien mi, fringilla in tellus et, cursus vulputate nunc. Praesent non ipsum quis lectus blandit malesuada. Pellentesque vestibulum viverra orci vel laoreet. Ut pellentesque semper turpis non mollis. Vestibulum vel elit quis arcu sagittis pulvinar. Vivamus massa dolor, scelerisque volutpat diam non, feugiat hendrerit lorem.
Let's show the post to the user - time to add site code
Date parser function
First of all, let's create a lib folder inside the root directory, in which we will place our helper function that will help us to parse the date into the correct format. Inside the lib folder, please create a utils.ts file and write the following code inside:
// lib/utils.ts
export function formatDate(input: string | number): string {
  const date = new Date(input)
  return date.toLocaleDateString("en-US", {
    month: "long",
    day: "numeric",
    year: "numeric",
  })
}
The above code utilizes the .toLocaleDateString function provided by JavaScript. You can configure the format according to your own preferences. The "en-US" format with long month and numeric day&year will give us the following result: Month Day, Year.
Formatting the page.tsx file to show the post to users
Right after, let's clear the default page.tsx file provided by the Next.js team and add our own code. The file is located inside the app folder.
// app/page.tsx
import Link from "next/link"
import { allPosts } from "contentlayer/generated"
import { formatDate } from "@/lib/utils"
export const metadata = {
title: "Blog",
}
export default async function BlogPage() {
const posts = allPosts.filter((post) => post.published)
return (
<div className="px-6 max-w-4xl py-6 lg:py-10">
<div className="flex flex-col items-start gap-4 md:flex-row md:justify-between md:gap-8">
<div className="flex-1 space-y-4">
<h1 className="inline-block font-extrabold text-4xl tracking-tight lg:text-5xl">
Blog
</h1>
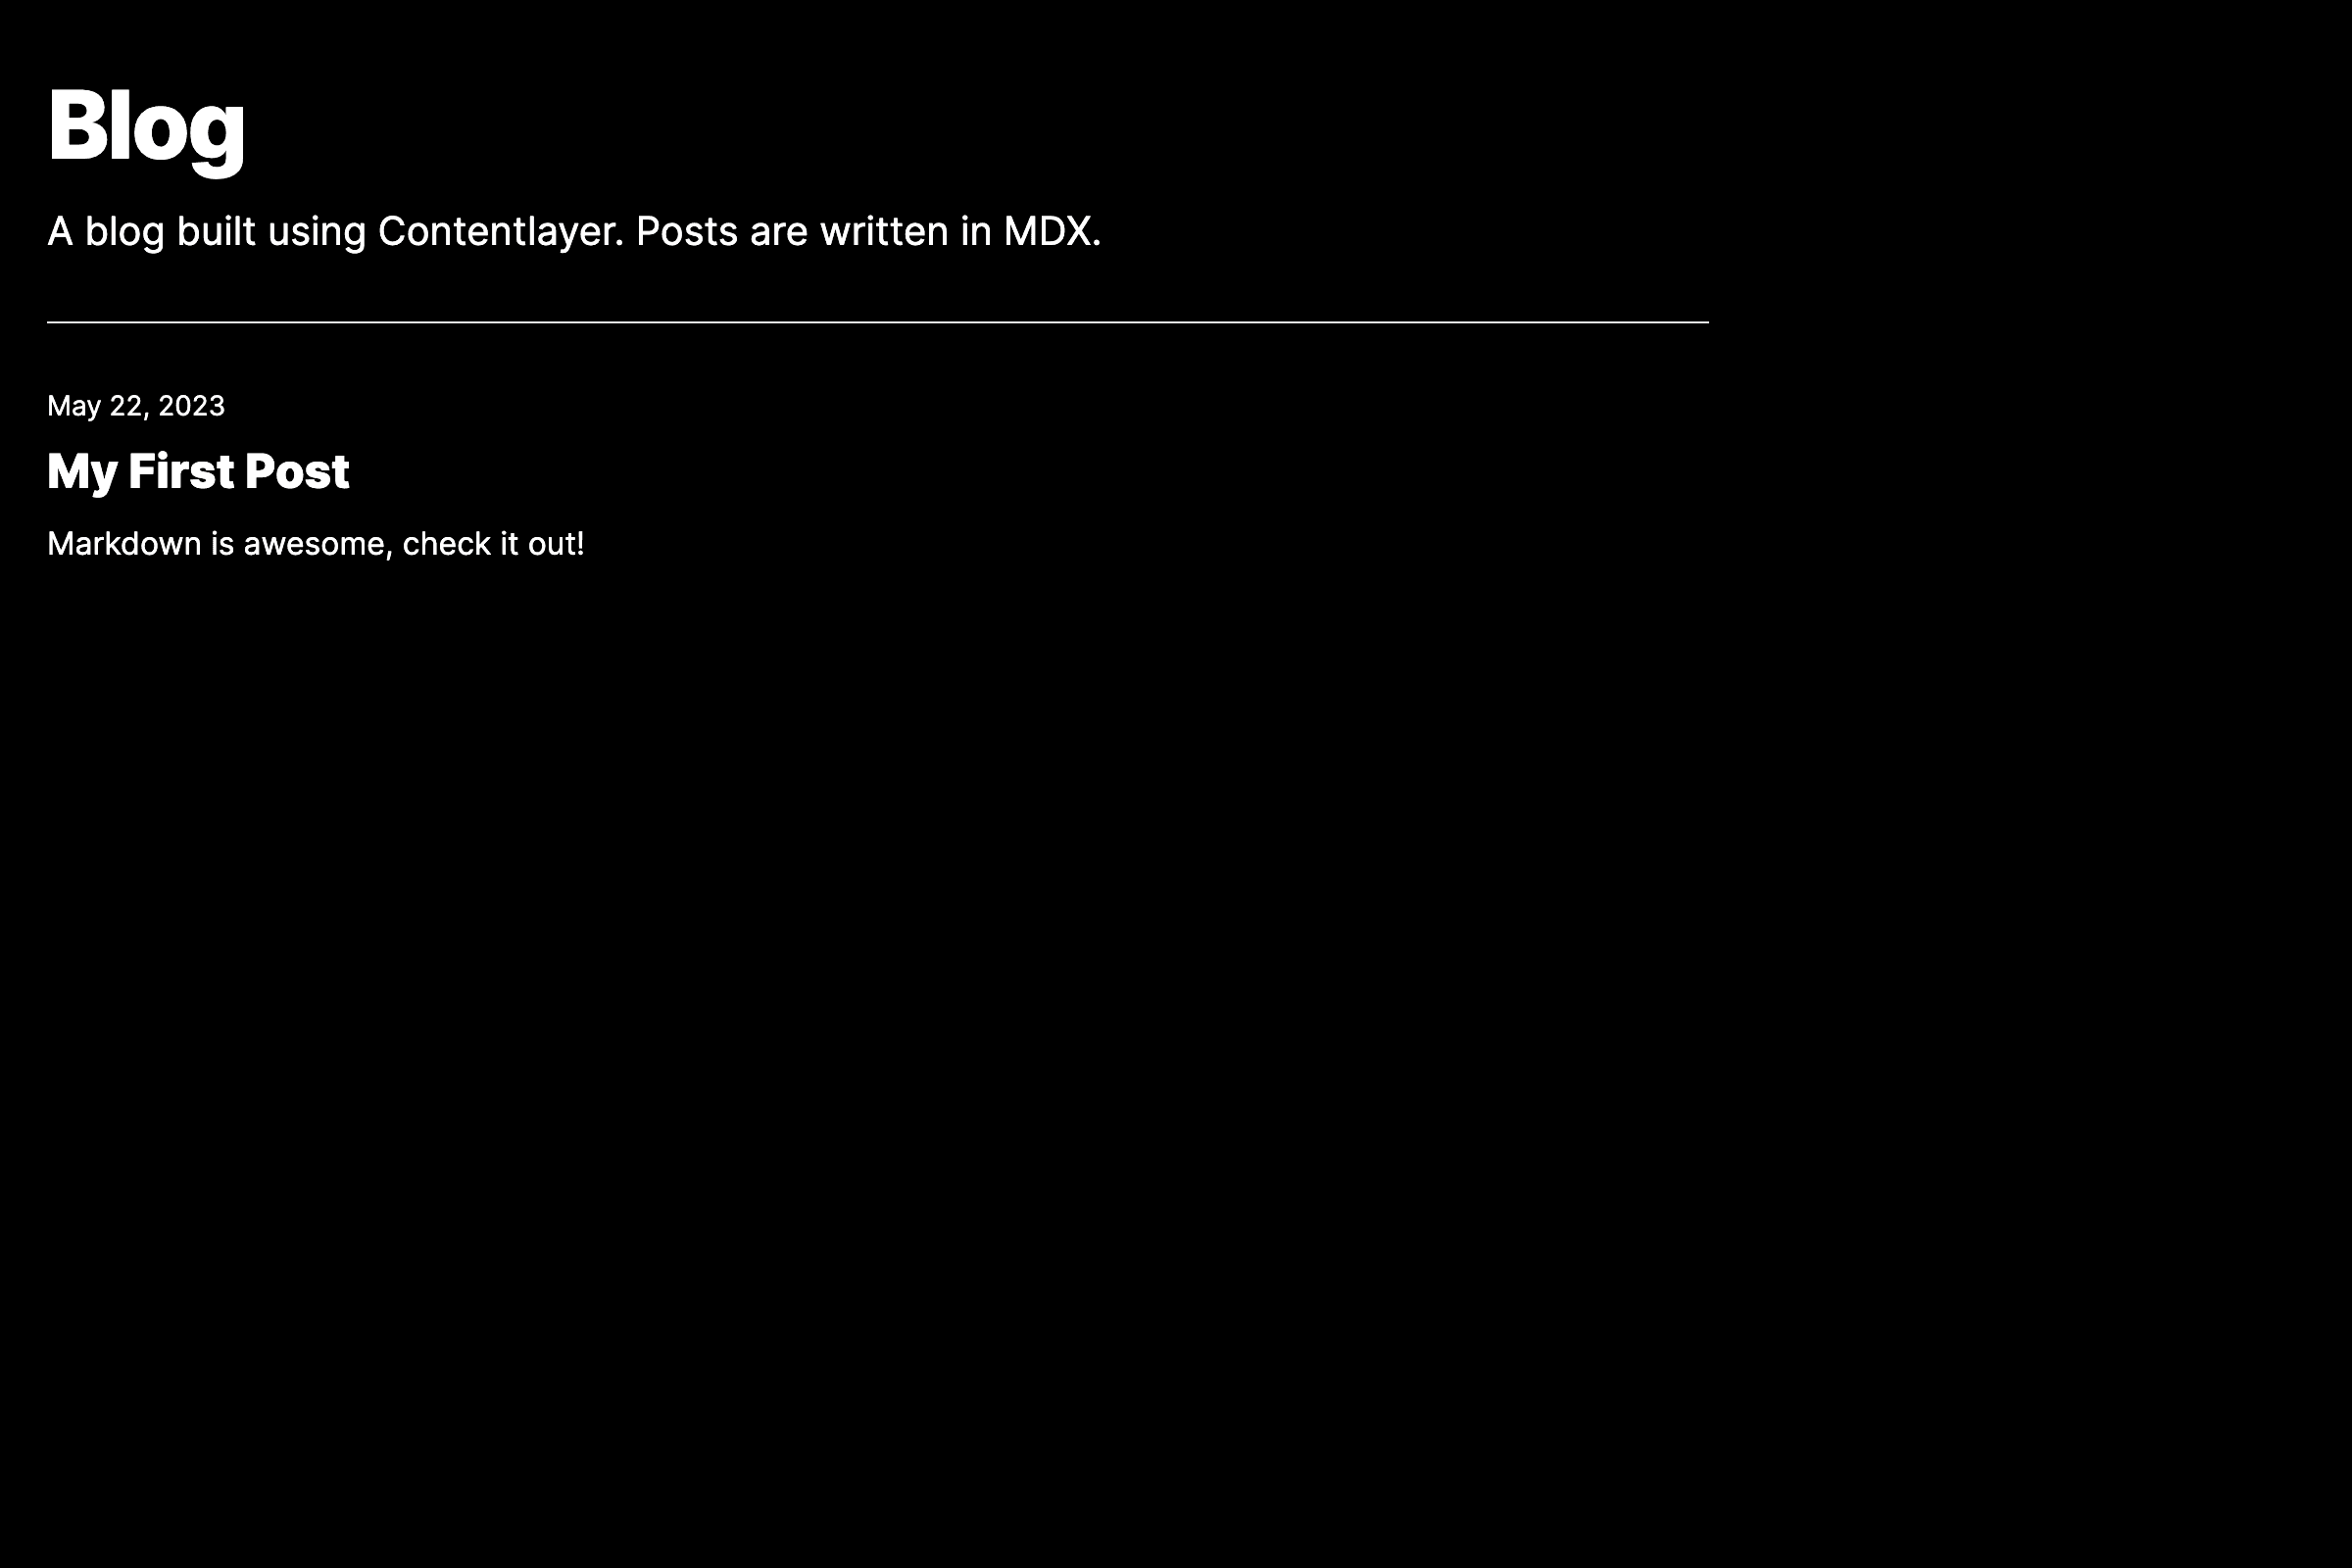
<p className="text-xl">
A blog built using Contentlayer. Posts are written in MDX.
</p>
</div>
</div>
<hr className="my-8" />
{posts?.length ? (
<div className="grid gap-10 sm:grid-cols-2">
{posts.map((post) => (
<article
key={post._id}
className="group relative flex flex-col space-y-2"
>
{post.date && <p className="text-sm">{formatDate(post.date)}</p>}
<h2 className="text-2xl font-extrabold">{post.title}</h2>
{post.description && <p>{post.description}</p>}
<Link href={post.slug} className="absolute inset-0">
<span className="sr-only">View Article</span>
</Link>
</article>
))}
</div>
) : (
<p>No posts published.</p>
)}
</div>
)
}Before the initial posts generation, TypeScript will complain about the {(Post, allPosts)} from "contentlayer/generated" import, but it will
disappear right after the initial run of the development server after the
changes.
-
In the code above, we are importing
allPostsfromcontentlayer/generated. This is where our content resides. Additionally, we import our date helper function and export metadata, which represents a summary of our website's content. This metadata is used to attach a title (in this case) to the site. The title is what users see when they click to enter our website from search results. It is also one of the key elements Google employs to comprehend the content of our page. -
Then, we import all of our posts by executing a simple function:
const posts = allPosts.filter((post) => post.published). We filter our content to include only the posts that are ready to be published, which defaults to true unless stated otherwise in each post. -
At the end, we add structure to our post by using HTML elements styled using the Tailwind CSS library. We conditionally render our posts using the
ternary operator. If posts exist, we map over all of them and render each post's date, description, and title with a link to view its body, which we will configure in a moment. If posts don't exist, we return a simple paragraph informing the user that no posts are published yet.:{posts?.length ? () : ()}
Running the server and generating content
If your server is already running, please use the control + c combination to abort the connection, then type the following command in your terminal (if it wasn't running, just skip the first point and run the command) and visit the relevant localhost address:
Terminal
npm run devIf everything went smoothly, you should see the following result:
Final step, showing the full body of the post to the user
On post hover, we can see that the anchor tag (Next.js Link component) would
like to forward us to /blog/my-first-post address. This is our slug
generated according to the previously defined filePathPattern: blog/**/*.mdx
and slug computedFields. _raw.flattenedPath of our post is
blog/my-first-post, slug is /blog/my-first-post and slugAsParams is
just the name of our file: my-first-post.
MDX Parser
First, let's create a helper function that will allow us to show MDX content directly to the user.
Create a new folder called components in the root directory. Inside of a components create the mdx.tsx file and put the following code inside:
// components/mdx.tsx
import * as React from "react"
import { useMDXComponent } from "next-contentlayer/hooks"

const mdxComponents = {}

interface MdxProps {
  code: string;
}

export function Mdx({ code }: MdxProps) {
  const MDXContent = useMDXComponent(code)

  return (
    <div className="mdx">
      <MDXContent components={mdxComponents} />
    </div>
  )
}
The above helper function utilizes the useMDXComponent hook that can parse
the raw post code and display it to the user in the formatted form. Later in
this file, we will be able to add custom JSX files like a Callout, Button,
etc.
Tailwind CSS typography plugin
To make our content look good almost immediately, we will take advantage of using the typography plugin. After the installation, we will be able to use the prose classes to add sensible typography styles to our post article. To install the package, please type the following command in your terminal:
Terminal
npm install -D @tailwindcss/typographyThen, add the plugin to your tailwind.config.js file:
module.exports = {
  theme: {
    // ...
  },
  plugins: [require("@tailwindcss/typography")],
}
Adding blog code
Now let's create a new folder called blog in the app directory. Then, create another folder inside the blog directory called [...slug]. Inside of a [...slug], create a page.tsx file. The final route should look like /app/blog/[...slug]/page.tsx.
We are using [...slug] folder to catch multiple dynamic segments in the URL,
so that we will be able to add categories to our posts. [slug] can match only
the /blog/page.tsx route, while [...slug] can match all the additional
in-between routes like /blog/gaming/page.tsx. You can check it out by
creating additional folder inside the /content/blog/ directory and putting
your my-first-post.mdx inside that folder.
In the /[...slug]/page.tsx file, let's add the following code:
// app/blog/[...slug]/page.tsx
import Link from "next/link"
import { notFound } from "next/navigation"
import { Post, allPosts } from "contentlayer/generated"
import { formatDate } from "@/lib/utils"
import { Mdx } from "@/components/mdx"
interface PostPageProps {
params: {
slug: string[],
};
}
interface PostWithSlug extends Post {
slugAsParams: string;
}
async function getPostFromParams({ params }: PostPageProps) {
const slug = params?.slug?.join("/")
const post = allPosts.find((post: PostWithSlug) => post.slugAsParams === slug)
if (!post) {
null
}
return post
}
export async function generateStaticParams(): Promise<
PostPageProps["params"][]
> {
return allPosts.map((post: PostWithSlug) => ({
slug: post.slugAsParams.split("/"),
}))
}
export default async function PostPage(params: PostPageProps) {
const post = await getPostFromParams(params)
if (!post) {
notFound()
}
return (
<article className="prose dark:prose-invert px-6 mx-auto relative max-w-3xl py-6 lg:py-10">
<div>
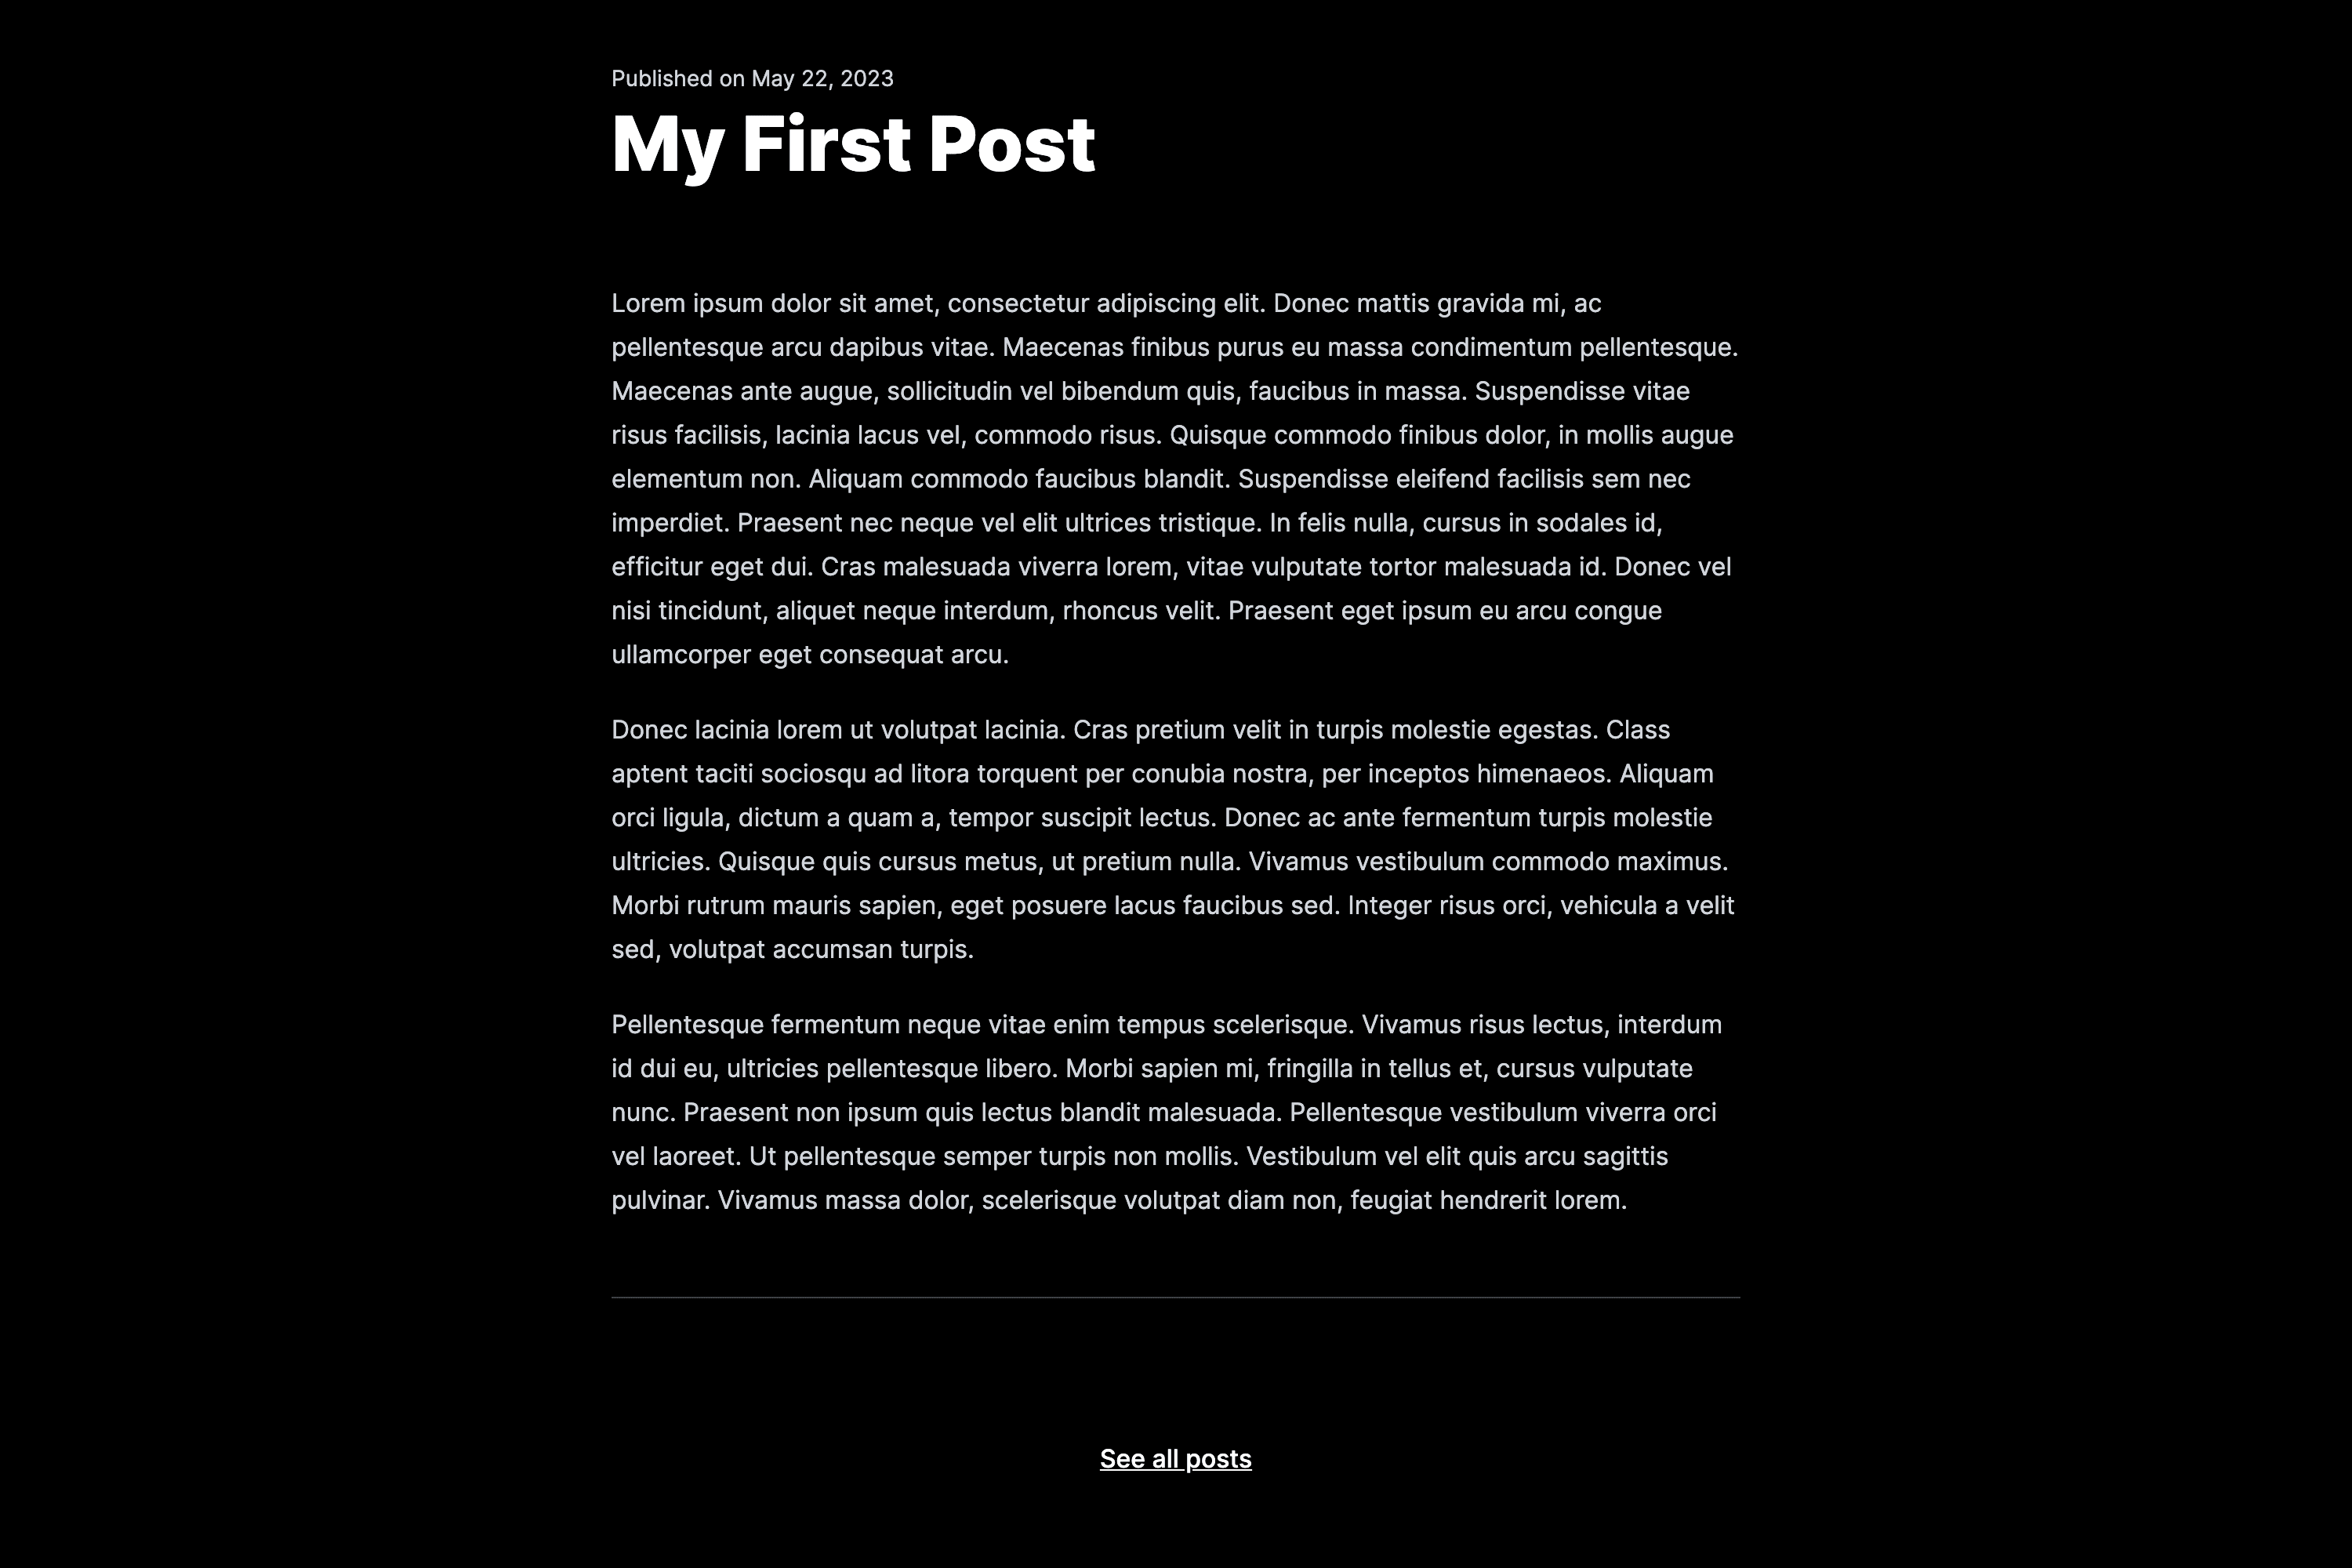
{post.date && (
<time dateTime={post.date} className="block text-sm">
Published on {formatDate(post.date)}
</time>
)}
<h1 className="mt-2 font-extrabold inline-block text-4xl leading-tight lg:text-5xl">
{post.title}
</h1>
</div>
<Mdx code={post.body.code} />
<hr className="mt-12" />
<div className="flex justify-center py-6 lg:py-10">
<Link href="/">See all posts</Link>
</div>
</article>
)
}If everything went smoothly, you should see the following view after clicking on the given post on the main page:
Congratulations! You have created a fully functional blog that utilizes Next.js, Markdown, MDX, and Tailwind CSS.
Now you can customize the styling directly inside the my-first-post.mdx by using the Markdown syntax. Please find the cheatsheet right there: Markdown Cheatsheet.
You can create your own schemas and add fields such as Authors and Categories. You can also sort posts in descending order, add your own JSX components, and embed them directly in your content.
Have fun and keep learning!
Written by Adam Książek